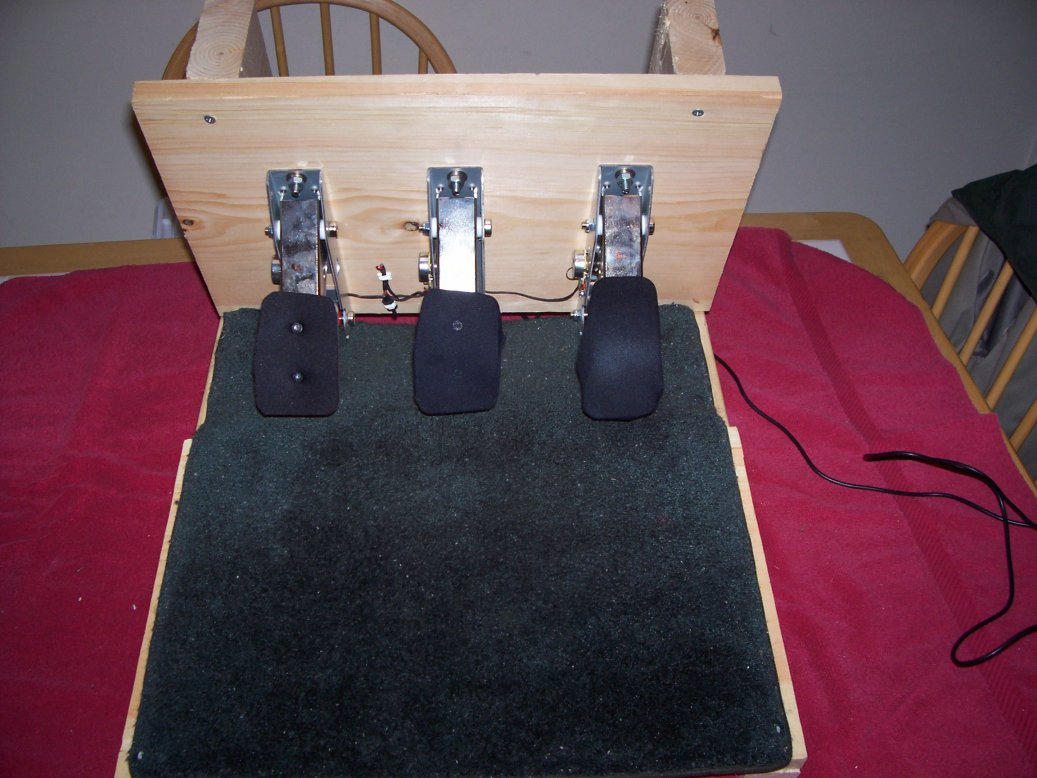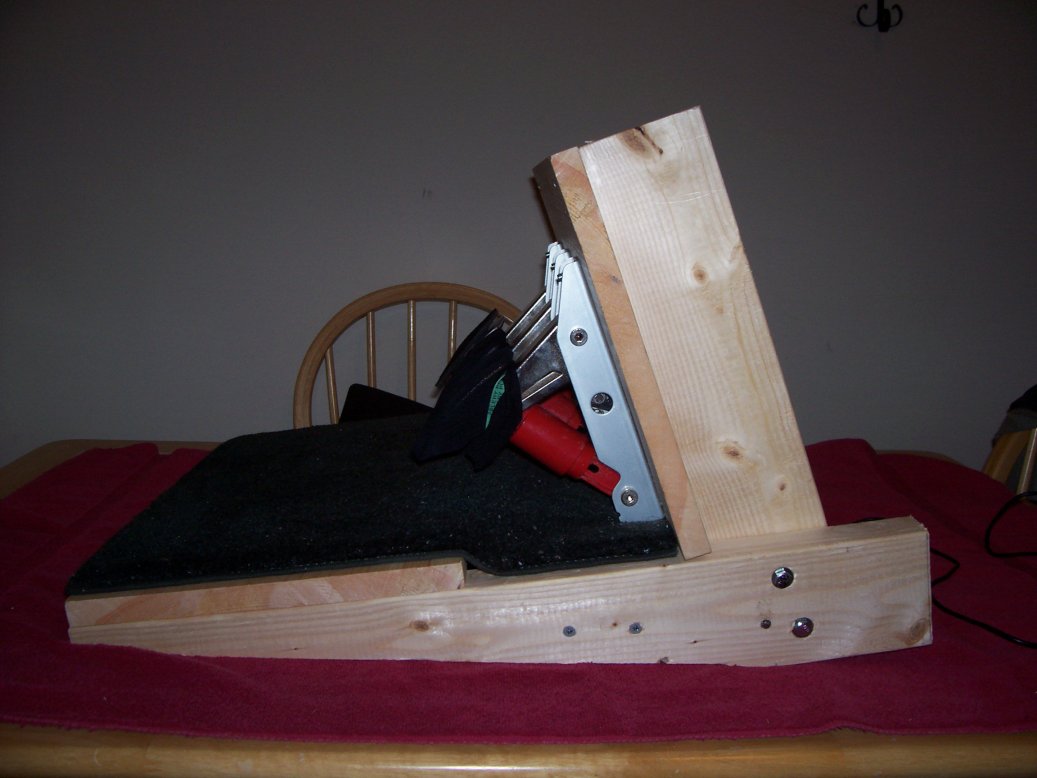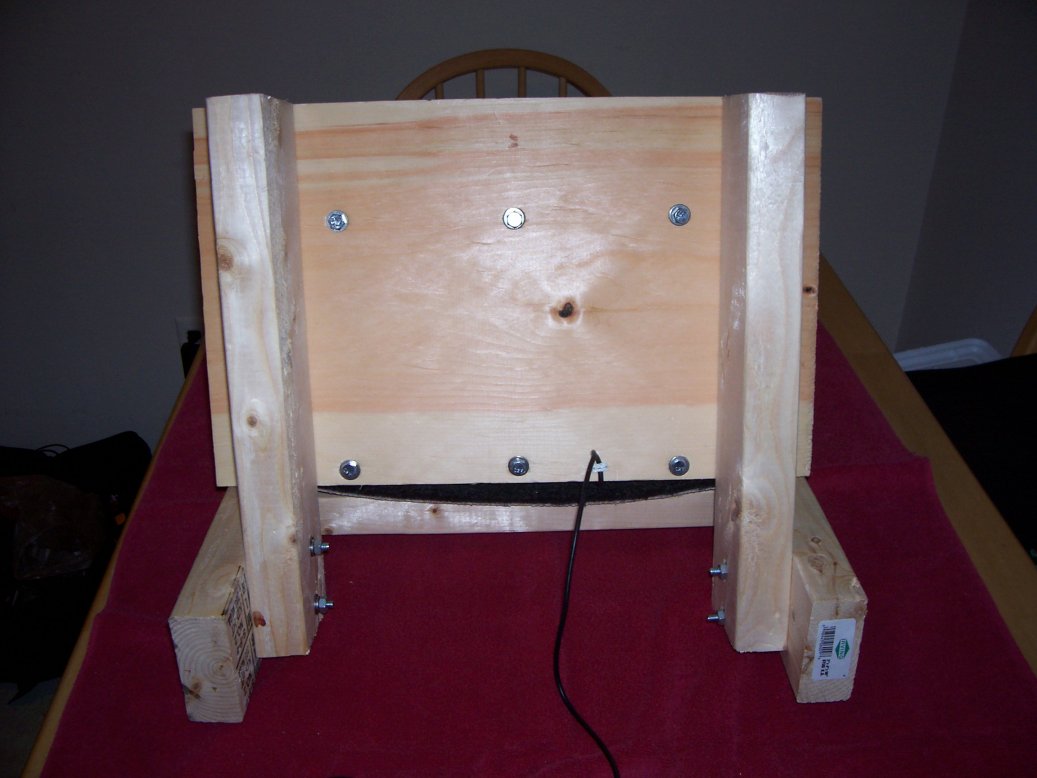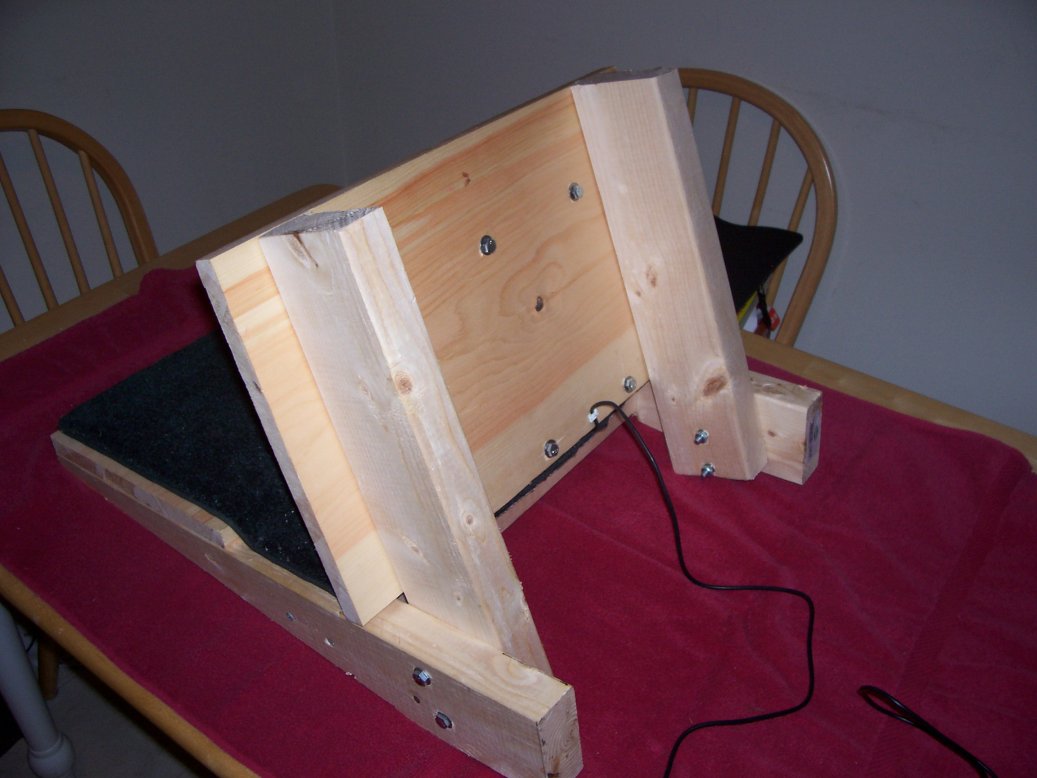
OK, so I got a wild hair last week and "designed" (I use that term VERY loosely) a rig to mount my pedals on. I am so thankful those pedals are 3 separate controllers that you are able to do this with! Basically, the pedal set from the manufacturer never really felt that comfortable for me for a couple of reasons. The brake was too close to the throttle for my taste, so I just switched the brake control to the clutch pedal and used that for the brake as several others have done (and did not use the clutch). Also, after several hours of racing my right toe would really start to get sore from mashing the gas for so long of a period of time. (I don't use my entire foot, but actually just use my big toe as it seems to give me more feel and alot more precise control.)
So, after seeing a few other rigs folks had made, I decided to have a go at one of my own. Feel free to use anything you see here for a design of your own!
Materials:
1 - 10 ft 2"x 4" (cut into 2' lengths)
1 - 4' x 1" x 12" shelving board (cut into 18" lengths)
6 - 1 1/4" bolts (1/4x20) (use for mounting pedals)
4 - 4" bolts (1/4x20) (use for bolting upright supports)
10 - 1/4x20 nuts
20 - 1/4" x 1" washers
10 - 1/4" lock washers
12 - 1 1/2" drywall screws
carpet tack strip
Tools needed:
Skillsaw or jig saw
screwgun or drill
1/4" drill bit
7/16 socket or wrench ("spanner" for the euros!)
tape measure
speed square (optional but helpful)
small phillips screwdriver
2mm allen wrench
pencil or pen
Preperation - removing
the pedals:
*** THE FOLLOWING PROCEDURE WILL VOID
YOUR WARRANTY FROM LOGITECH.
PROCEED AT YOUR OWN RISK!!!***
This should be done on a nice clean workbench or table. To remove the pedals from the plastic rack that they came on, basically flip it over, remove all the screws and let the top fall off. (See pics st the Nixim Brake Mod website: - http://www.nixim.com/pedmod.html)
Flip it back over & remove the 4 screws holding each pedal. Take extreme car and be very gentle paying utmost attention to your wires & electronic parts. You will also have to remove a small clip holding the wires in place.
At each end of each pedal there is a small hole that I drilled out to fit a 1/4" bolt through. (Mailny because I already had some of the hardware, lol.) You could possibly use a smaller bolt that would fit through this hole and not have to drill them, or if you are not a dumbass like me actually get the proper size bolt to fit the threaded holes already in the pedal assembly!. Be very careful of your drill filings and keep everything nice and clean. Place pedals aside for now.
The "build"
Cut the 2x4 into 5 - 2' lengths
Cut the shelving board into 2 - 18" lengths
Take 2 of your 2x4's and screw one of your shelving boards to one end. (This will be the footrest)
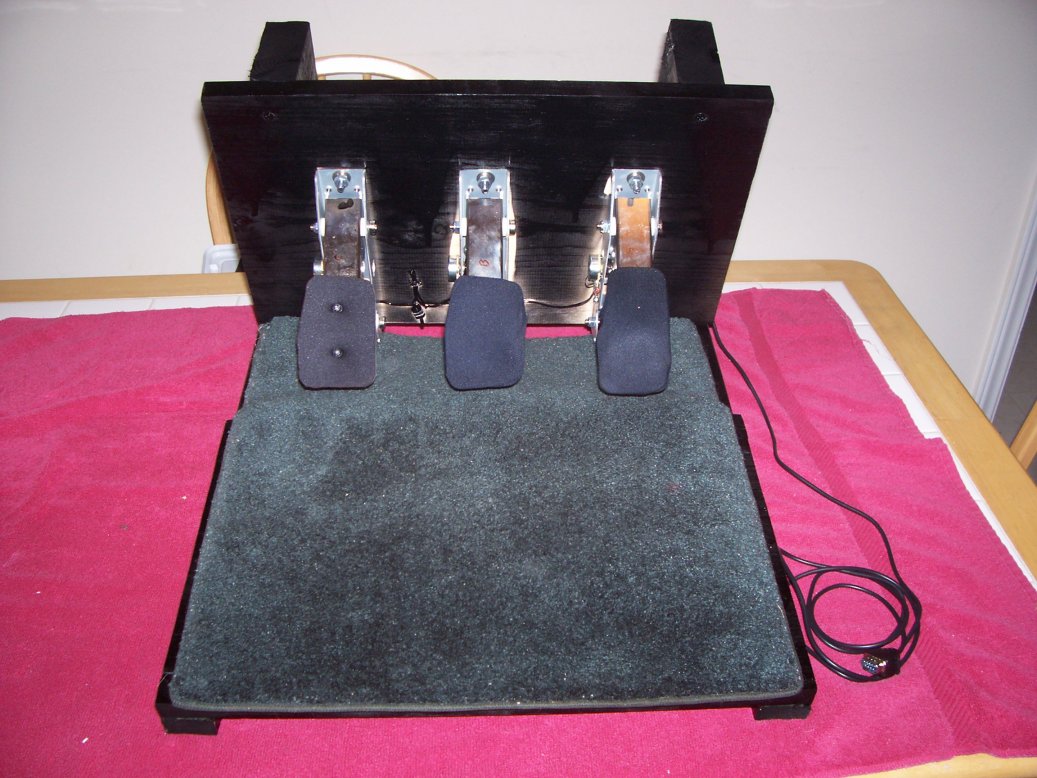
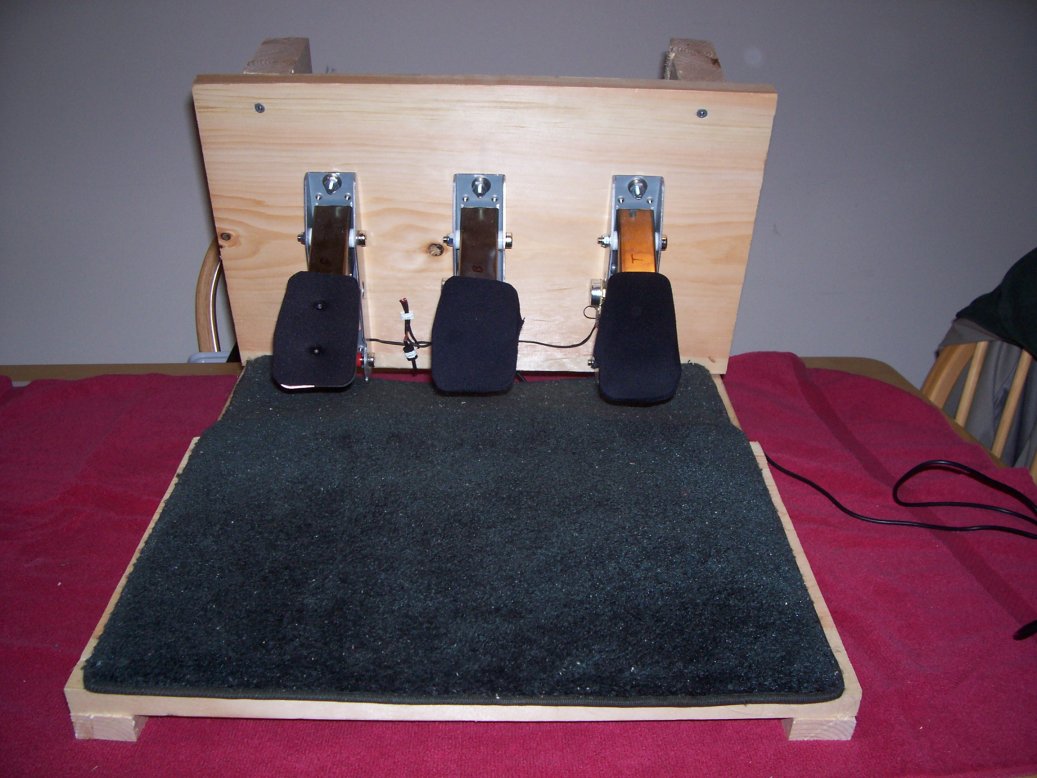
Take the other shelving board and mount your pedals. (I spaced mine around 5" from each other, but you will need to decide what spacing you like for yourself.) Basically, just lay them on the board, mark your holes, drill it out and use the smaller bolts/washers/lockwashers to mount them up.
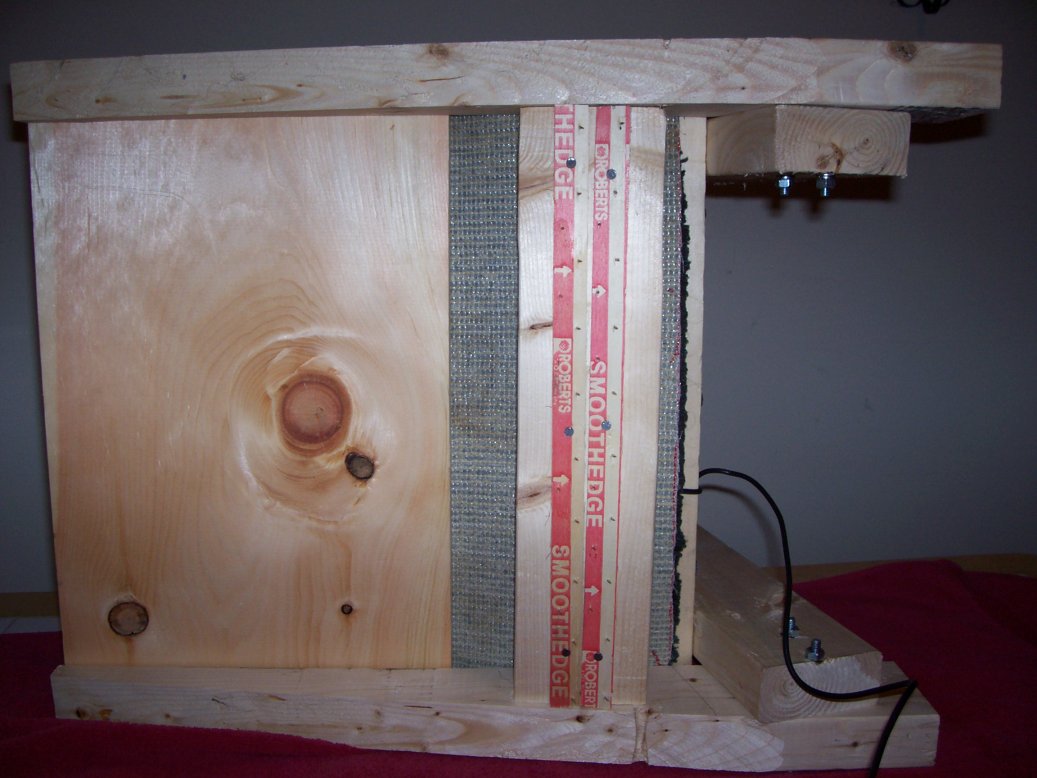
To mount the upright supports took me a little trial & error to get right, lol. But I ended up with the center of the upright support at about 4 inches from the back end of the footrest base, with a slight tilt forward. The reason I used bolts was to allow for a little adjustability of the angle if I needed it. You will again, have to play with it a bit to find your comfort zone. But basically, I just drilled the hole for the top bolt on each side, bolted it up and got everything fairly snug. I then mounted the shelving board with the pedals bolted on with 4 more drywall screws. I set mine so the bottom of the pedal was just a 1/2" or so above the footrest. After getting it all mocked up, all that is left is to drill the last 2 holes for the bottom bolts for the upright support. Drill the last 2 holes, add your bolts and you're ready to race!
Oh yeah, I also added another 2x4 across the bottom that I nailed 2 pieces of carpet tack strip to to keep it from sliding. (6th picture)
One last thing I ended up doing was to paint the rig black, & saw the bottom 2x4's at an angle from front to back. This placed the rig much closer to the floor and just seemed to me a much more comfortable position for my feet to rest in. I also cut & screwed an old floor mat on the footrest for much more padding & comfort!
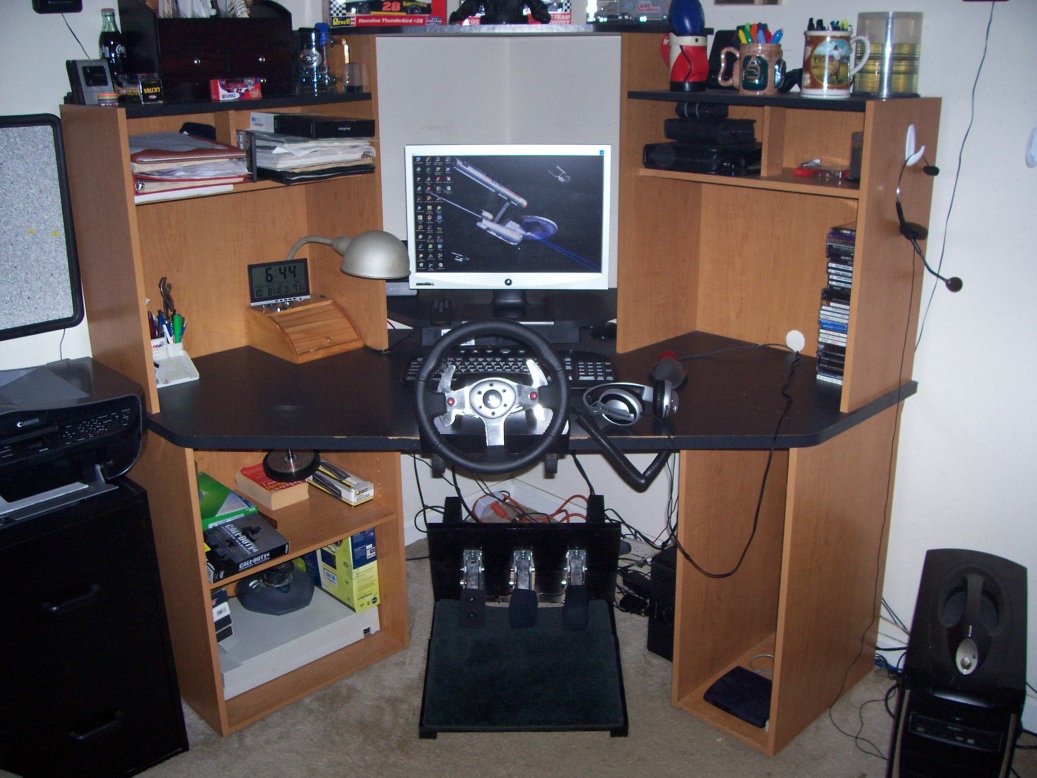
Also, as you can probably tell I am pretty much a hack carpenter & painter, but hey, what can I say, it works for me, and you won't really see it much under my desk.

